
Generate PDF Certificates with monday.com
Create certificates with monday.com and export them as a PDF. Use your own docx template and branding.
You can create certificates one by one or on auto-pilot with premade recipes based on specific triggers.
You can even send your generated PDFs directly via email to your clients.
What's the use case?
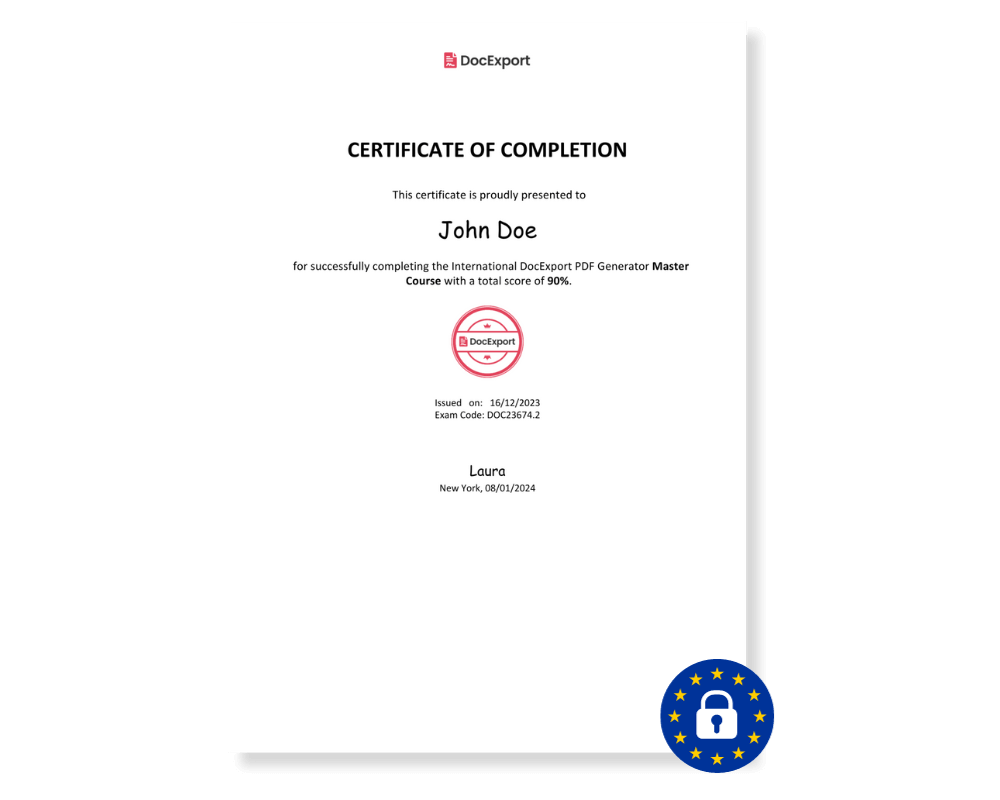
Imagine you manage all data about different courses and their participants in a monday.com board. As soon as the course is completed, you would like to generate a certificate of completion for the attendee and create a PDF.
With our premade monday.com workspace, we make it easy for you to generate these certificates.
How? Once set up, a new certificate is just one status change away.
How to install
The installation is quick, easy and free. Simply click on the blue button on the top. The link will redirect you to your own account.
Getting started with the workflow
After installing the workspace template to your account, you have a fully built workflow as an example for an easy start.
Main Table
In the main table you'll find a ready-to-use list containing all information you need to create course certificates for your attendees.
The board also contains a pre-installed automation for a status change. To make it more fun, we included two options.
- If you enter a test score higher than 50, the course status will automatically change to "Completed", which will trigger the generation of a "Certificate of Completion".
- If you enter a test score below 50, the course status will automatically change to "Not Completed", which will trigger the generation of a "Certificate of Participation"
Besides that, there is a file column, called "Certificate (file)". This is where the generated documents will be saved.
But keep in mind: This is just an example of how it can work! You can also use several other triggers and send your PDFs directly to your customers.
How to customize your docx template
Follow these steps to customize your template for this specific use-case and make it your own.
- Download the certificate template from the board.
We included two options:
a) certificate of completion and
b) certificate of participation
- Open it in Microsoft Word and change the style of the document by adding your logo, header, footer, more/other text or changing the font, font size, ...
Visit our helpcenter for more detailed instructions on how to customize your template. - Save the template and upload it as described in the following section "Setting up DocExport".
Setting up DocExport
Now it's time to set up DocExport, so you can use your own template and the workflow described above.
- Open the DocExport view and select the tab "Generate document"
-
Choose to create a document on "Item Level".
-
Upload the certificate template you just edited (.docx).
-
Follow the upcoming steps provided by the step-by-step assistant. You will find an explanation for each step on the right side.
Make sure to choose "save to column" and select the column "Certificate (file)", if you want to make use of the premade workflow.
Using automations
Well done! All settings are ready! Now create an integration/automation to trigger the actual generation of the PDF file - using your own template.
- Click on integrate (next to "Automate").
- Open the board automations and select the existing status change integration in order to change the recipe to the one that is using your customized template.
- Save the settings. All done.
Changing the status to "completed" will now create a new certificate based on your own template.
More information on how to add other automations/integrations: DocExport Automations
Help
You are stuck? Don't hesitate and just contact us at support@docexport.com.
We are happy to help you!